![Untitled design (1)-Aug-01-2022-12-37-27-80-PM.png]](https://help.syscloud.com/hs-fs/hubfs/Untitled%20design%20(1)-Aug-01-2022-12-37-27-80-PM.png?height=40&name=Untitled%20design%20(1)-Aug-01-2022-12-37-27-80-PM.png)
You can enable the eDiscovery add-on for QuickBooks Online backup jobs to index backed-up data for future searches.
Steps to enable eDiscovery
- Log in to the SysCloud application.
- Click Jobs from the top navigation menu.
- (i) For a new Job:
You can create a new backup job by clicking on ‘Create new backup job’ and proceed to Step 5: Configure add-ons in the flow.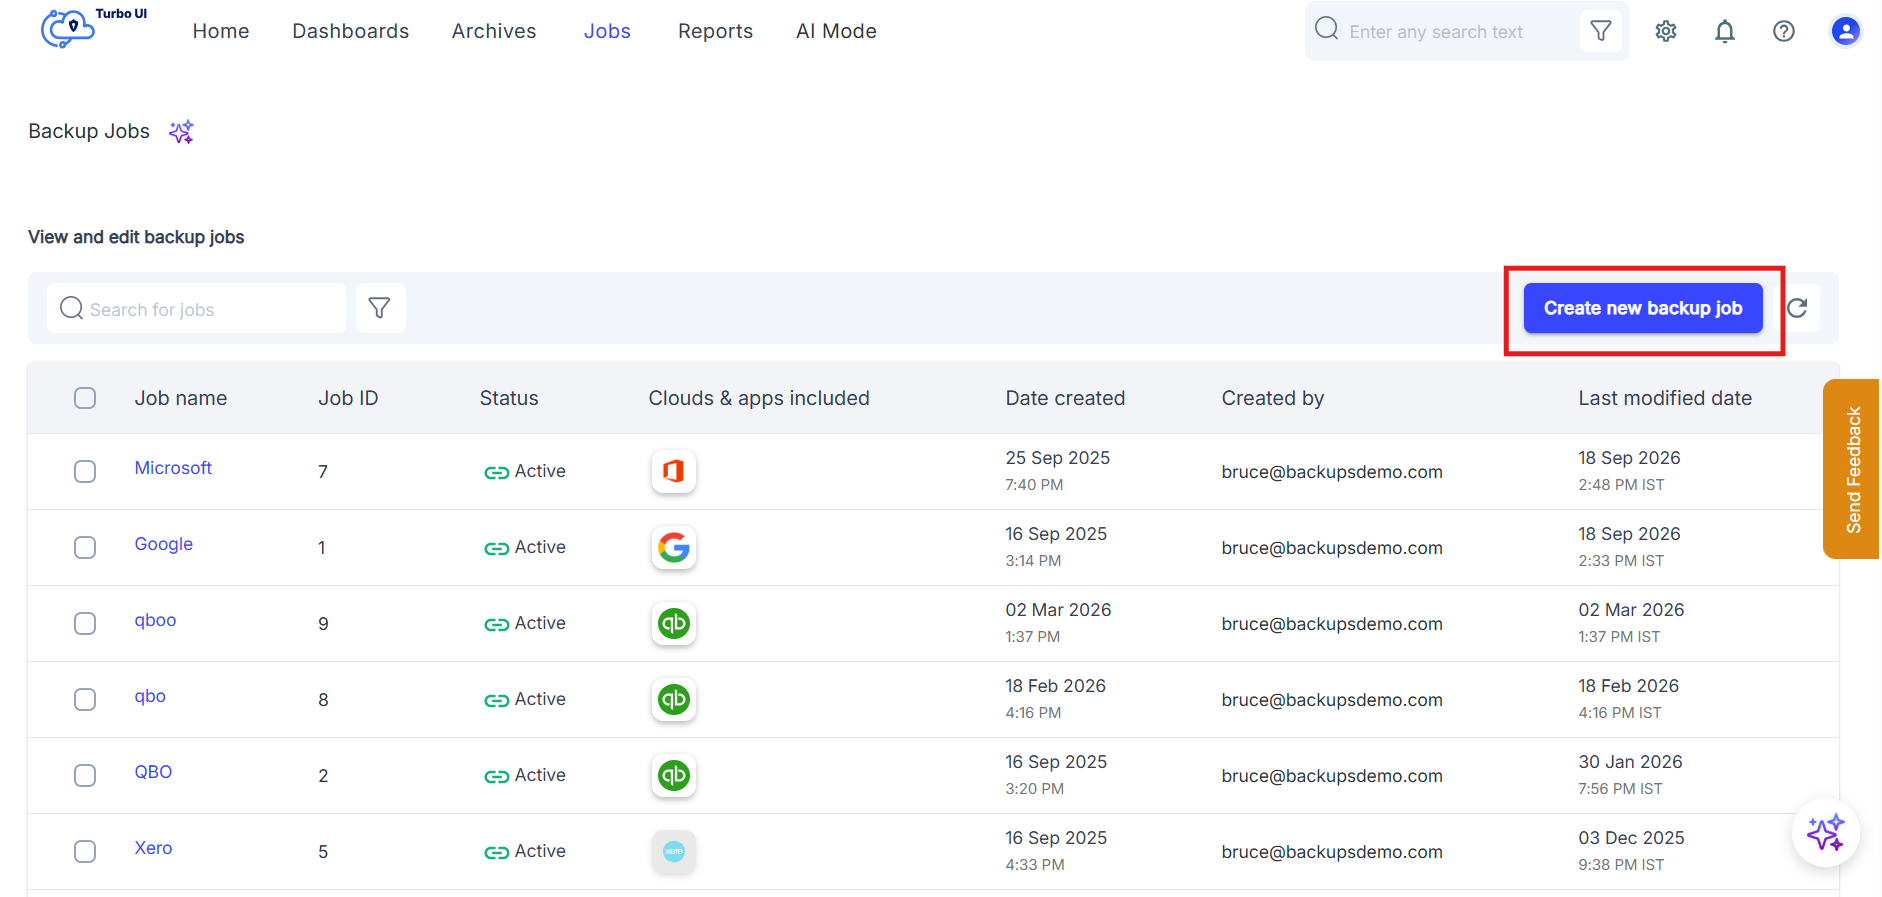
ii) For an existing backup Job:
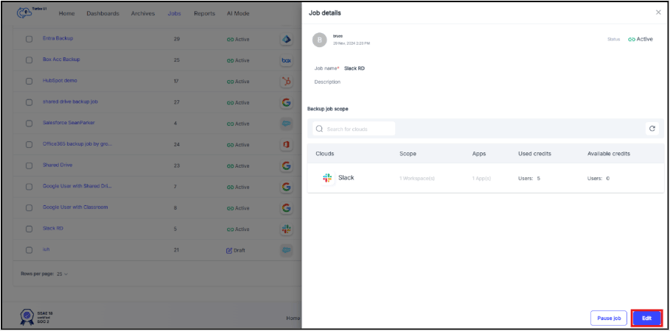
Open the existing QuickBooks Online backup job for which you want to change the retention period and in the Job details side tray that pops up, click Edit and proceed to Step 5: Configure add-ons in the flow.
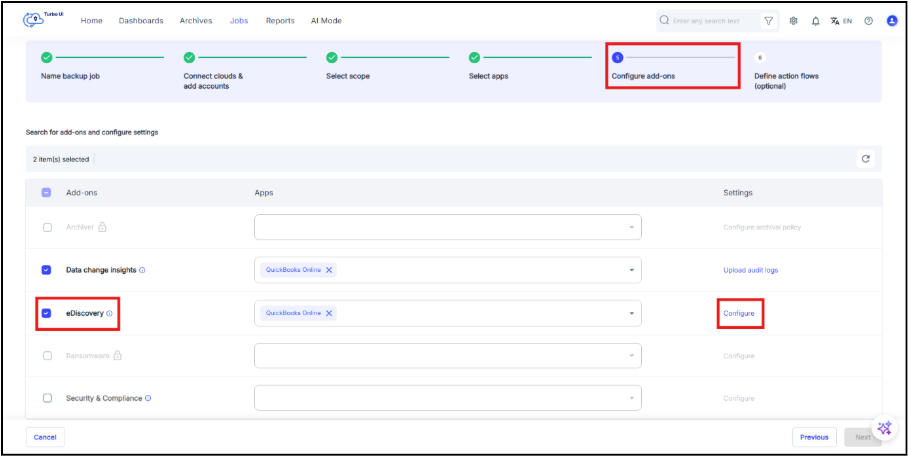
- In the backup job setup flow, go to Step 5: Configure add-ons.
- Under Search for add-ons and configure settings, select the checkbox next to eDiscovery and in the Apps column, select QuickBooks Online and in the Settings column, click Configure.
- In the eDiscovery side panel, choose the indexing options you want to enable
Option Description Metadata search Indexes metadata for items searched for eDiscovery operations. Content search Indexes the actual content of supported backed-up QuickBooks Online data for future eDiscovery searches. - Select Enable for the required indexing options.
Note: Metadata Search can be enabled independently. However, Content Search cannot be enabled alone; when Content Search is enabled, Metadata Search is automatically enabled as well. - Click Confirm.
- Click Next through the remaining steps, and then click Start Backup to save the eDiscovery settings.
- eDiscovery indexing is applicable to QuickBooks Online transactions, list items, and attachables.
- eDiscovery searches will be available only for data backed-up after the setting is enabled.