![Untitled design (1)-Aug-01-2022-12-37-27-80-PM.png]](https://help.syscloud.com/hs-fs/hubfs/Untitled%20design%20(1)-Aug-01-2022-12-37-27-80-PM.png?height=40&name=Untitled%20design%20(1)-Aug-01-2022-12-37-27-80-PM.png)
Follow these steps to create a Google Classroom backup job in the SysCloud backup application.
Steps
Step 1: Log in to the SysCloud backup application using your admin credentials.
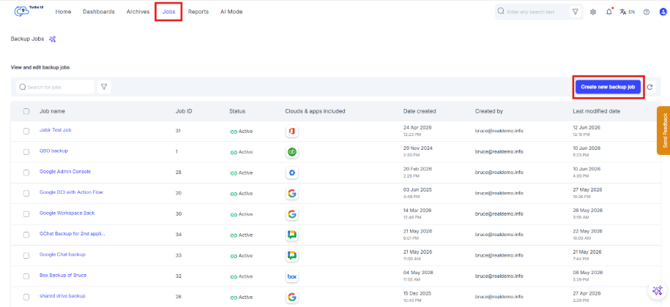
Step 2: Go to Jobs and click Create new backup job.
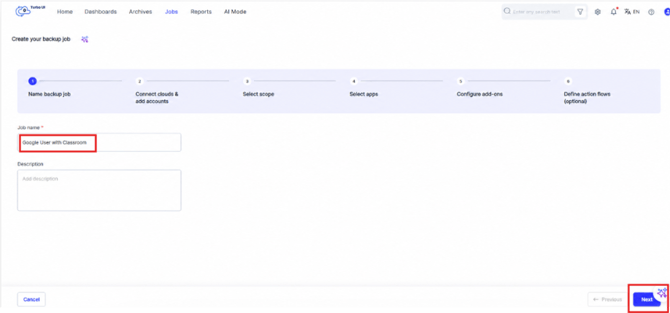
Step 3: In Step 1: Name backup job, enter a name for the backup job. Add a description (optional) and click Next.
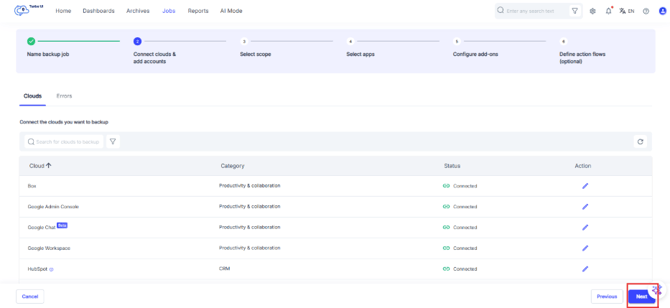
Step 4: In Step 2: Connect clouds & add accounts, make sure that the status is “Connected”. Click on the Edit pencil icon under the Action column to check the accounts added.
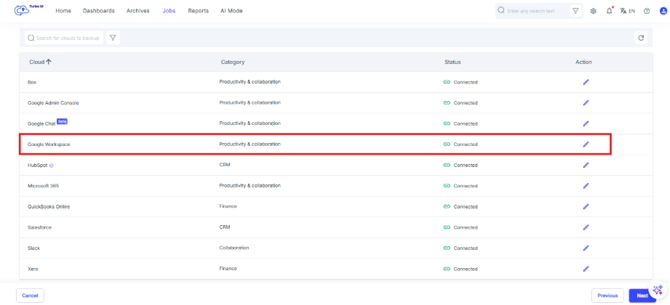
- Verify if the required Google account is added.
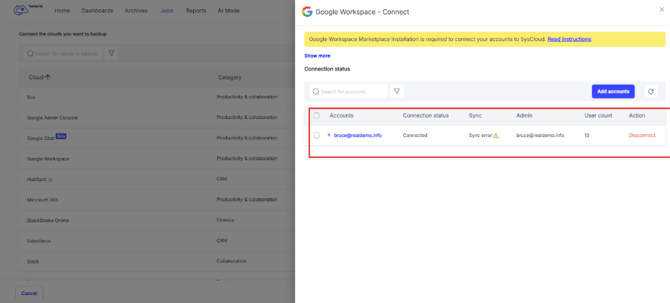
- If the Google Workspace account is not connected, connect and add account before continuing. Refer How can I connect my Google Workspace account to the SysCloud backup application?
Step 5: Click Next.
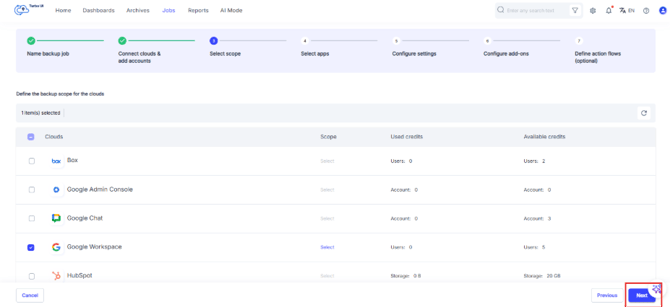
Step 6: In Step 3: Select scope, select the checkbox for Google Workspace and click Next if the backup job is created only for Google Classroom.
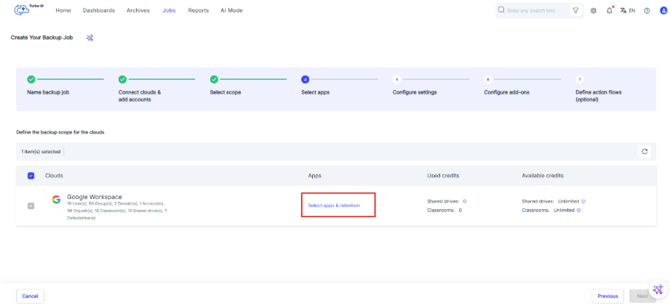
Step 7: In Step 4: Select apps, click on Select apps & retention in the Apps column for Google Workspace.
Step 8: In the Apps - Google Workspace pop-up, select Google Classroom.
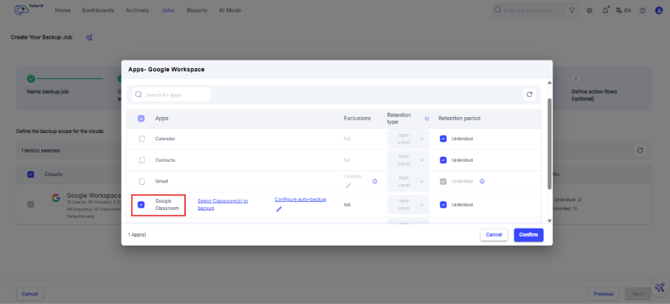
Step 9: Click Select Classroom(s) to backup.
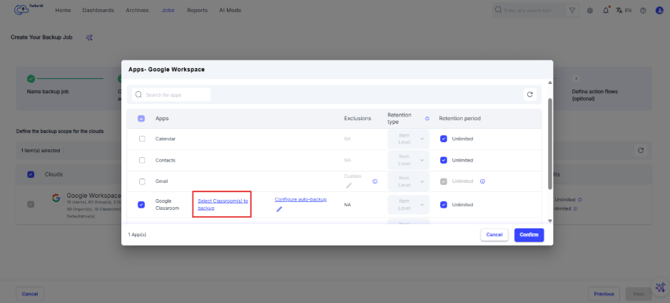
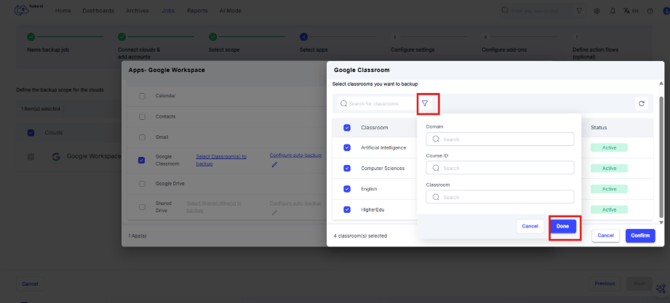
Step 10: In the Google Classroom pop-up, select the classrooms you want to back up. You can use the search bar or filter icon to filter classrooms by:
- Domain
- Course ID
- Classroom
Click Done after setting the filters.
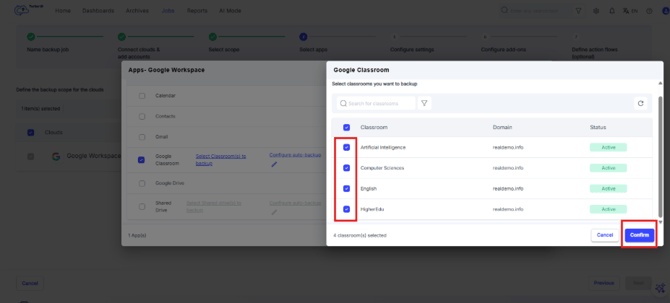
Step 11: Use the checkboxes to select the classroom and click Confirm.
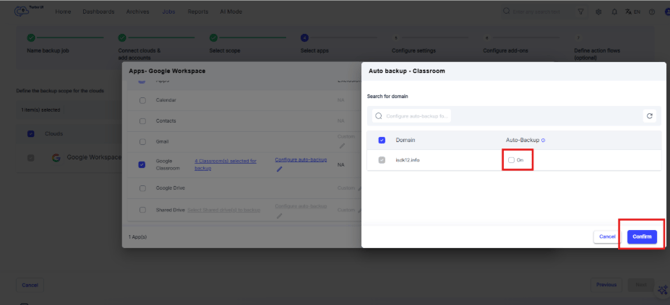
Step 12: To enable auto-backup for newly created classrooms, click Configure auto-backup.
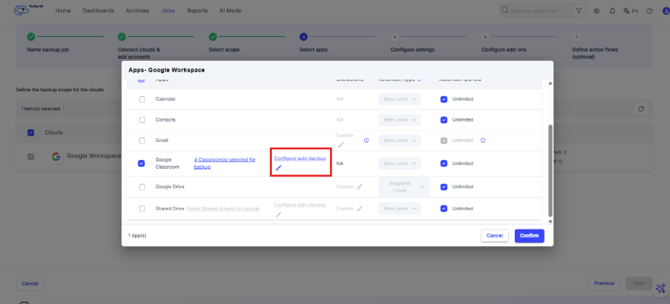
Step 13: In the Auto backup - Classroom pop-up, select the required domain and turn on Auto-Backup. Click Confirm.
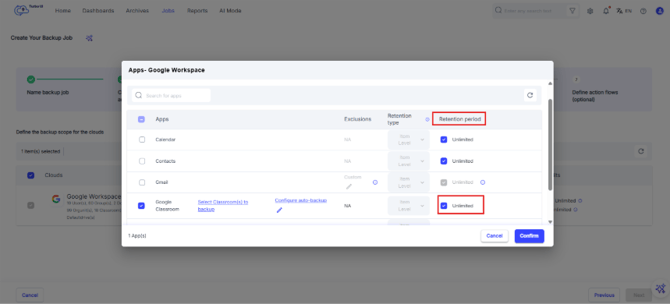
Step 14: Retention period will be Item level by default. To configure retention period, select Retention period:
- Unlimited: Selected to retain Google Classroom backup data without a defined retention limit.
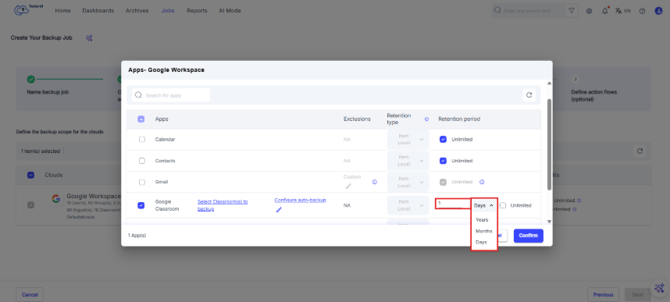
- To set a custom retention period, clear Unlimited checkbox, enter the retention duration, and select Years, Months, or Days.
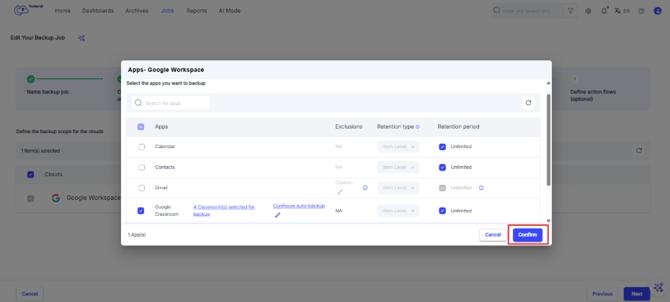
Step 15: Click Confirm in the Apps - Google Workspace pop-up.
Step 16: Click Next.
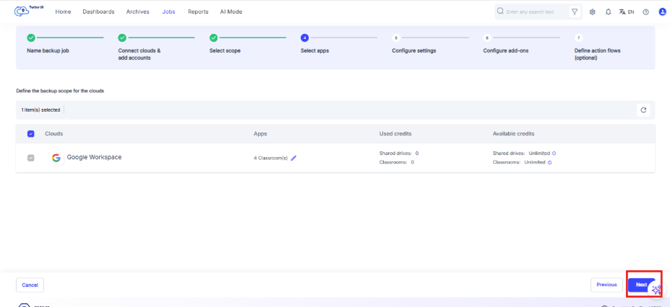
Step 17: In Step 5: Configure settings, review the available Google Workspace settings and click Next.
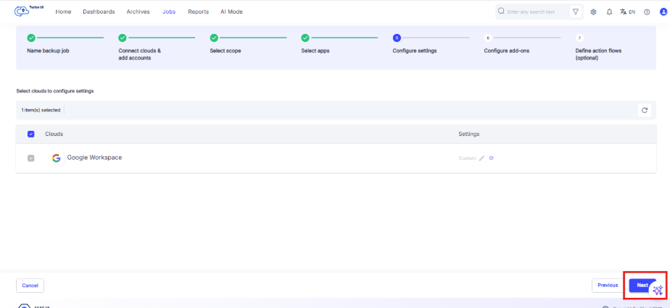
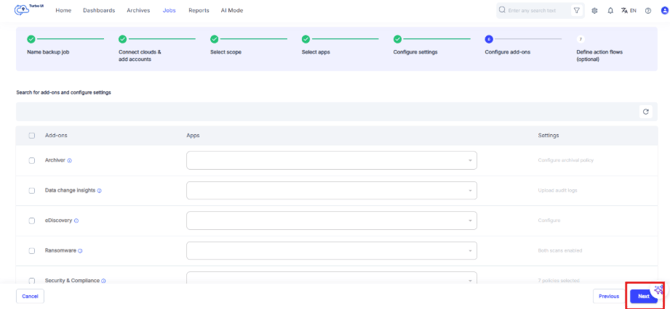
Step 18: In Step 6: Configure add-ons, configure any required add-ons, or click Next to skip this step.
Step 19: In Step 7: Define action flows, configure action flows if required, or Click Start Backup to save the job and start backup.
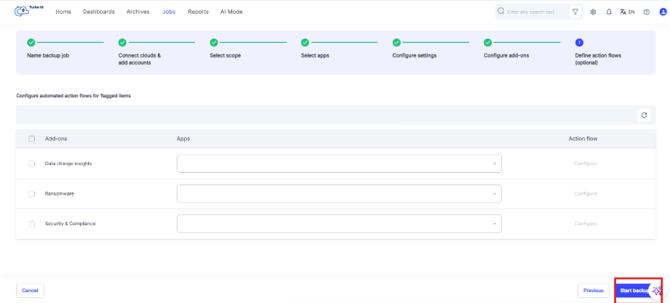
The Google Classroom backup job will be created and started.
If auto-backup is enabled, SysCloud will include newly created classrooms from the selected domain in the backup job.