Follow the steps below to restore Google Workspace user archives from the SysCloud backup application:
Full account restore is available at a user level. You can restore one user's archive at a time.
Step 1: Log in to SysCloud using your admin credentials.
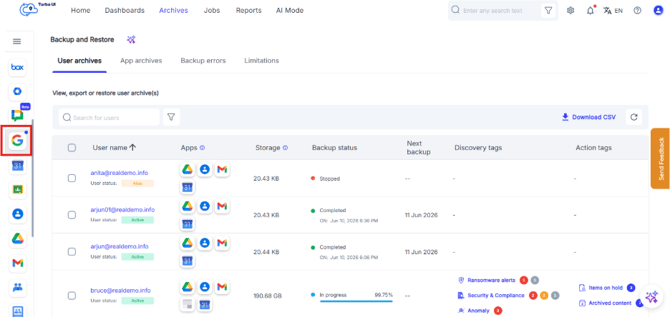
Step 2: Click on “Archives” and select Google Workspace.
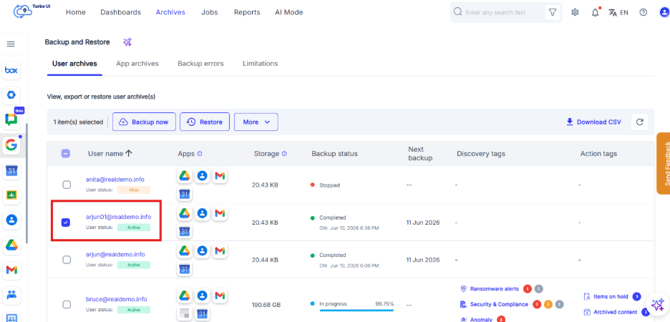
Step 3: Select the User’s archives you wish to restore
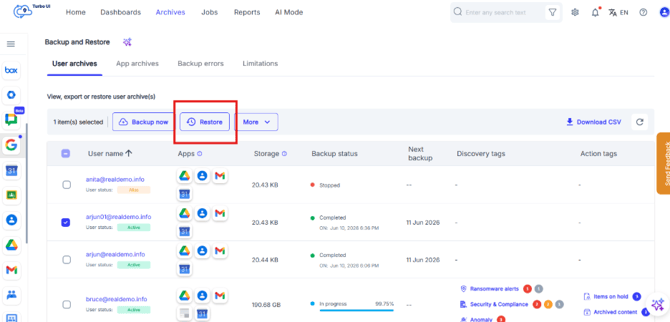
Step 4: Click on Restore
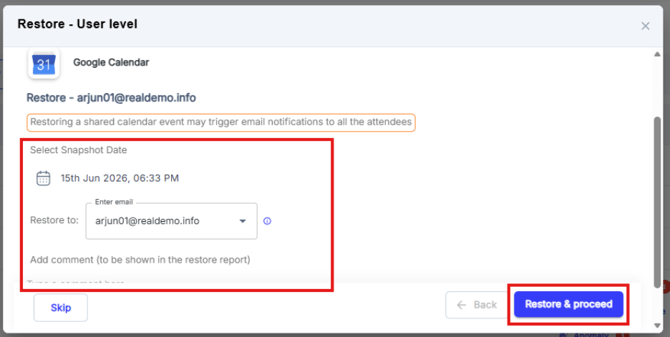
Step 5: In the Restore pop-up window, select the required Google Calendar permissions and choose the snapshot date. Then, enter the email address to which you want to restore the data and add comments if needed. These comments will appear in the restore report. Finally, click Restore & Proceed.
By default, data is restored to the same account from which it was deleted. To perform a cross-user restore, you can select a different account of the same domain. Refer to this article for step by step instructions on how to initiate cross-user restore.
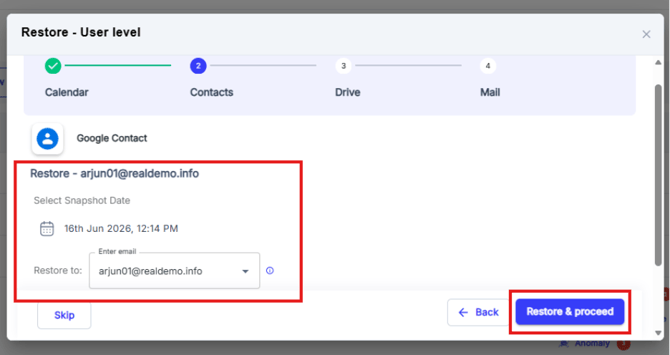
Step 6: Now similarly add for Google Contacts and click on Restore & proceed
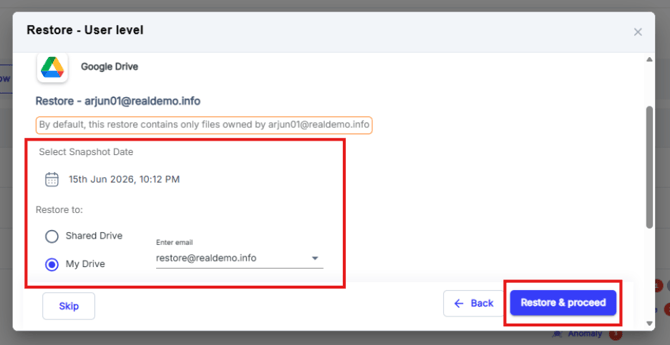
Step 7: For Google Drive, select the desired snapshot dates from which you want to restore data. You can restore data to either Shared Drives or My Drive. Choose the required restore options and click Restore & Proceed.
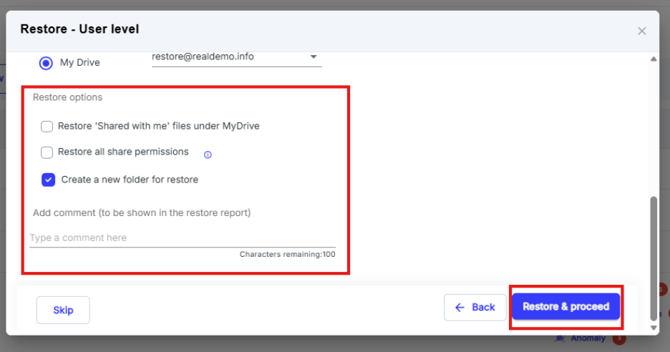
- Restore 'Shared with me' files under My Drive:
Enabling this option restores all files shared with you to your My Drive. - Restore all share permissions:
If this option is enabled, the collaborator(s) of the original file will retain access to the restored file. Be sure to inform collaborators about the newly restored file. - Create a new folder for restore:
If this option is enabled, all selected items will be restored into a new folder in your cloud application.
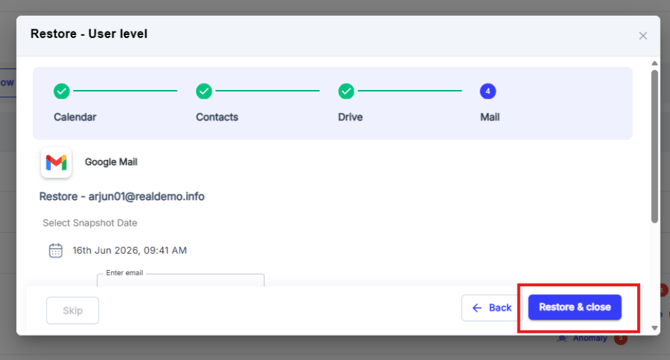
Step 8: Select the required Google Mail permissions and choose the snapshot date. Then, enter the email address to which you want to restore the data and add comments if needed. These comments will appear in the restore report. Finally, click Restore & Proceed.
Note: You can skip an app if you do not want to restore it.
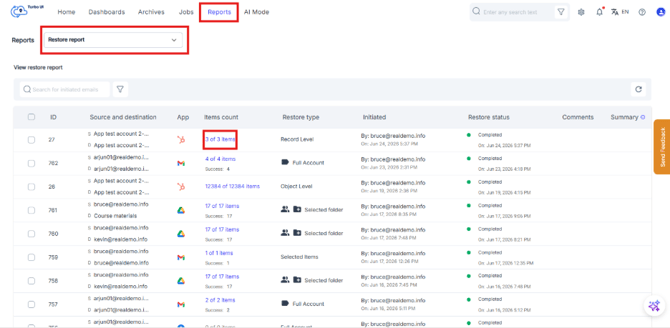
Step 9: You can monitor the restore status from Reports > Restore Reports.