How to create and manage the phishing policy for Gmail?
Follow these steps to setup and manage the phishing policy for Gmail in SysCloud Security App:
1. Log in to the SysCloud Application.
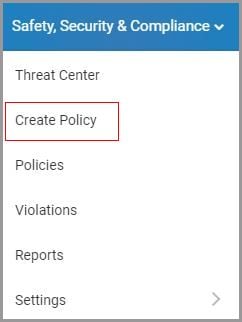
2. Click “Safety, Security & Compliance”→“Create Policy.”
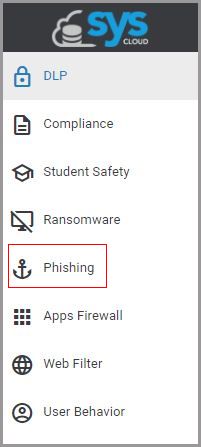
3. Click “Phishing” on the left pane.
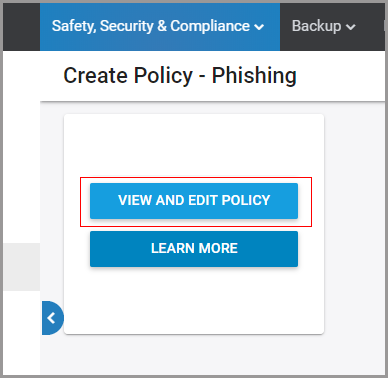
4. Click on the “VIEW AND EDIT POLICY” to customize the policy.
5. Create a name for the policy.
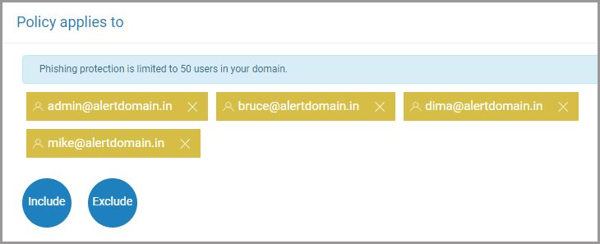
6. Select the scope for the policy i.e. the users you want to protect and click “NEXT.”
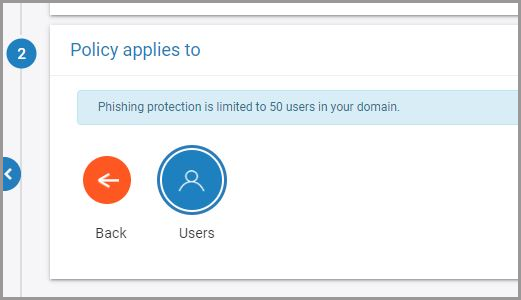
Note: For now, the phishing protection policy is limited to 50 users in your domain.
7. Choose additional users, to be excluded or included in the scope of the policy, and click “NEXT.”
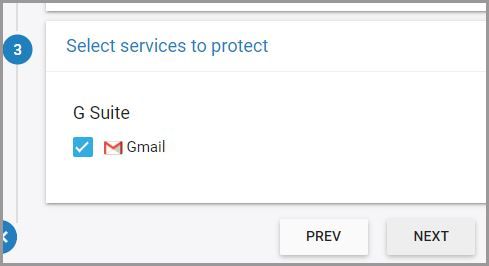
8. Select the cloud service to protect. The phishing policy is available only for Gmail.
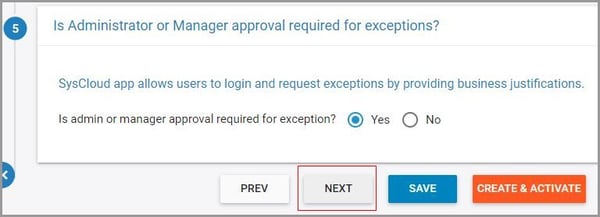
9. Select whether you want to allow users to request exceptions on policy violations and click “Next."
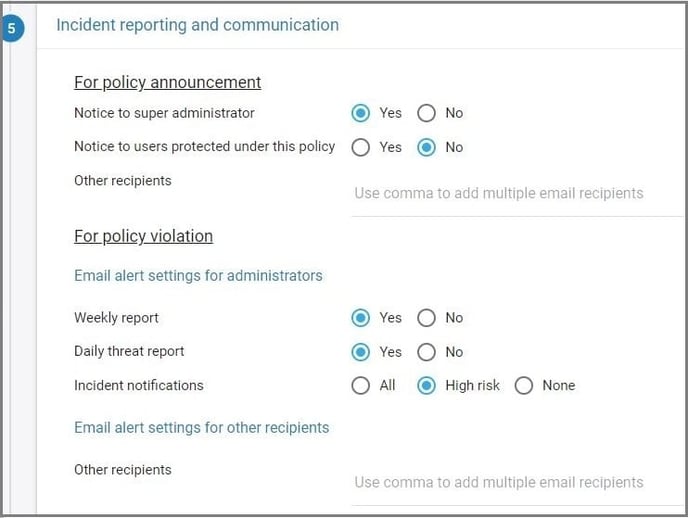
10. Choose the team members to be notified in case of policy violations. You can also select whether the policy violations need to be included in the weekly and daily threat reports.
Violation notifications can be triggered based on the type of phishing violation detected. SysCloud app will classify phishing emails into one of the four:
-
- Phishing emails
- Suspicious emails
- Spam
11. Click “CREATE & ACTIVATE.”

Once the policy is active you will receive violation alerts based on your policy settings. Follow these steps to view and manage policy violations:
1. Navigate to “Safety, Security & Compliance”→“Violations.”
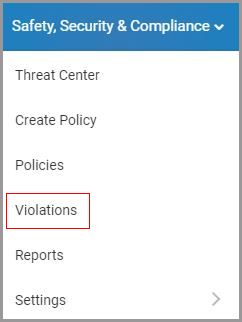
2. Select “Phishing” on the left pane.
3. Click on the vertical ellipses on the right-hand side of the screen to view the violation or to share it with another user.

4. Select the violation(s) to perform the following actions:
-
- Request exception
- Mark as a false positive
- Dismiss
- Delete email(s)
- Mark as true positive
