How do I restore a Shared Drive (Team Drive)?
Follow these steps to restore a Shared Drive:
Follow the steps below to restore Shared Drive files from the Turbo version of the SysCloud backup application:
Step 1: Log in to SysCloud using your admin credentials.
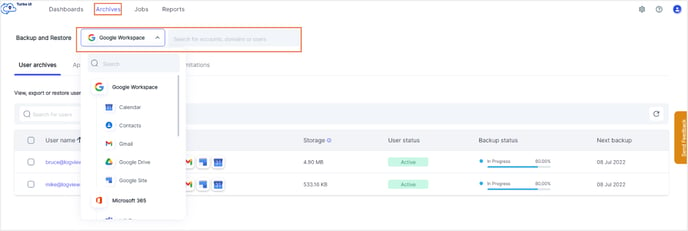
Step 2: Click on “Archives” and select Google Workspace from the Backup and Restore dropdown.

Step 3: Navigate to the app archives tab and click on 'Shared Drive' to drill down into the archive.

Step 4: Select the files you want to restore and click the restore button.

Step 5: In the restore pop-up box, select an account to restore the data and click restore.
Note:
- You can also enable Shared Drive at the organizational unit level and user level.
- When you enable Shared Drive for a user account, it will take about 24 to 36 hours to be activated.