![Untitled design (1)-Aug-01-2022-12-37-27-80-PM.png]](https://help.syscloud.com/hs-fs/hubfs/Untitled%20design%20(1)-Aug-01-2022-12-37-27-80-PM.png?height=40&name=Untitled%20design%20(1)-Aug-01-2022-12-37-27-80-PM.png)
You can create a Xero backup job in SysCloud to back up selected Xero organizations. During job setup, you can choose the Xero organizations to back up, configure retention, enable eDiscovery indexing, and start the backup job.
To set up Xero backup
Step 1: Log in to SysCloud using your admin credentials.
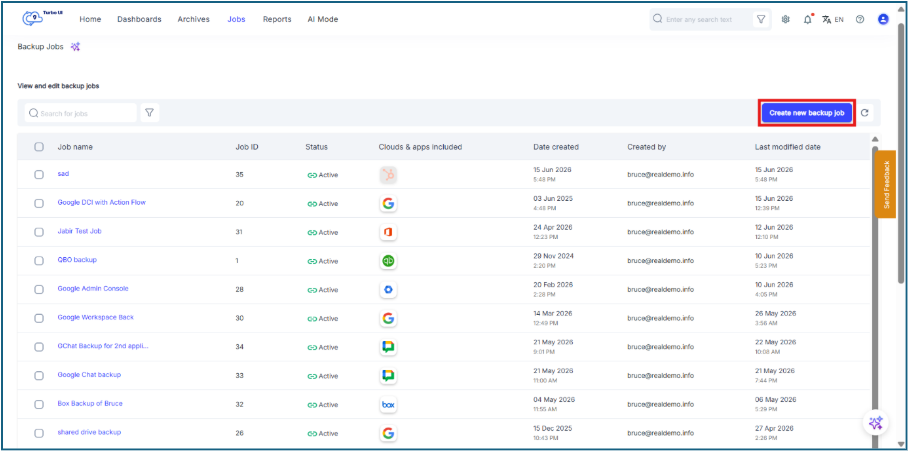
Step 2: Click Jobs from the top navigation menu. Click Create new backup job.
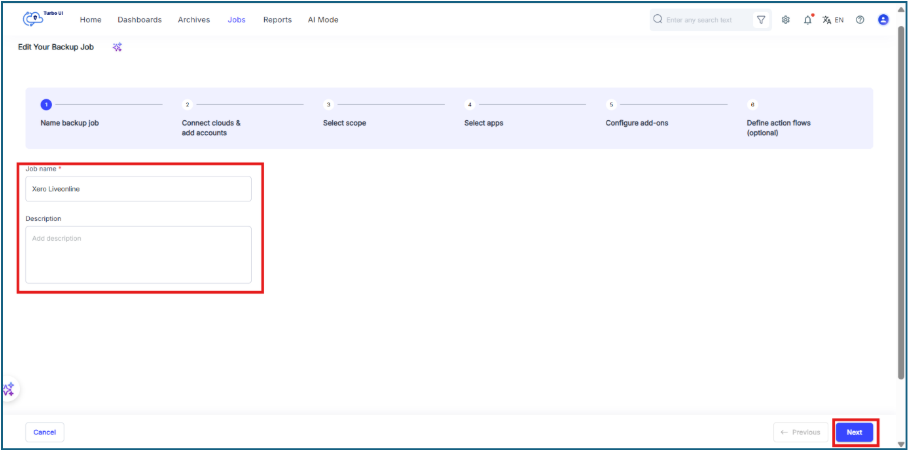
Step 3: In the Name backup job step, enter a Job name and add a Description, if required. Click Next.
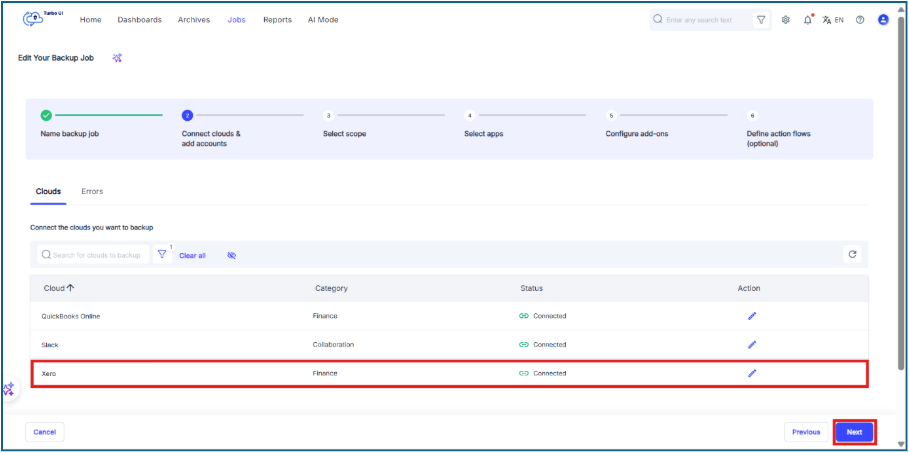
Step 4: In the Connect clouds & add accounts step, make sure Xero is listed with the status Connected.
If Xero is not connected, click the edit icon under the Action column and connect the required Xero organization. Click Next after the connection is completed.
Step 5 In the Select scope step, select Xero and click the edit icon in the Scope column.
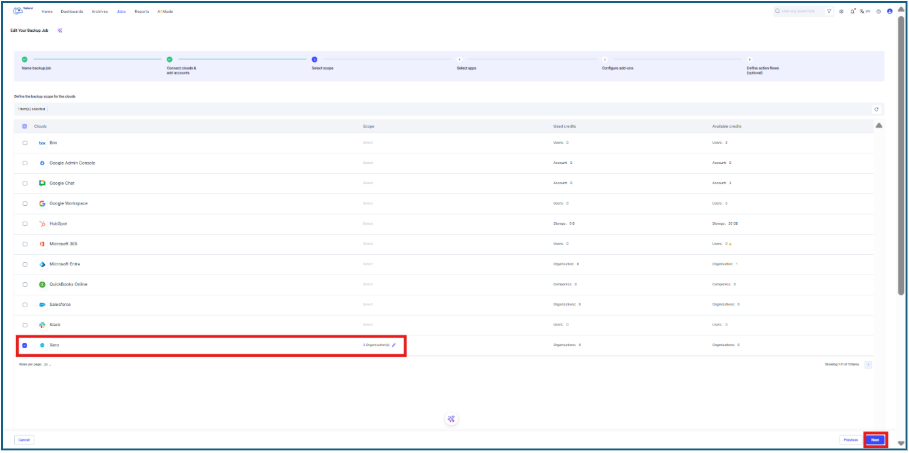
Step 6: In the Organizations - Xero window, select the Xero organization or organizations you want to back up and click Confirm. After confirming the scope, click Next.
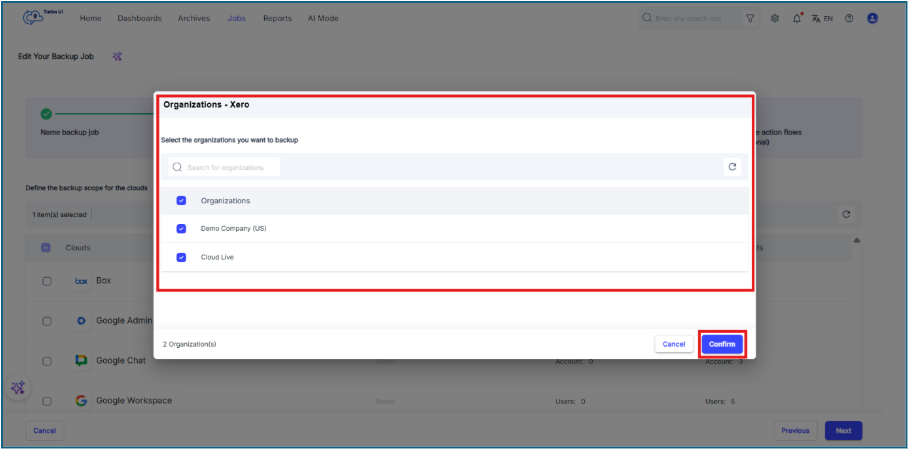
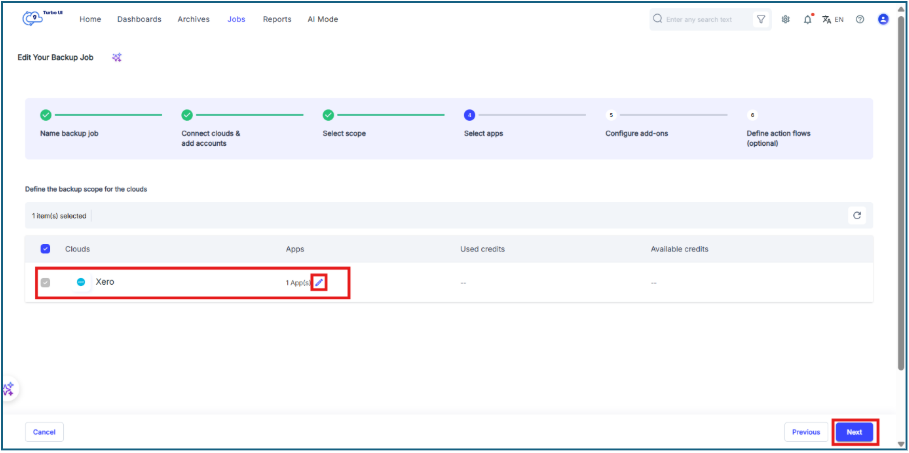
Step 7: In the Select apps step, click the edit icon under the Apps column for Xero.
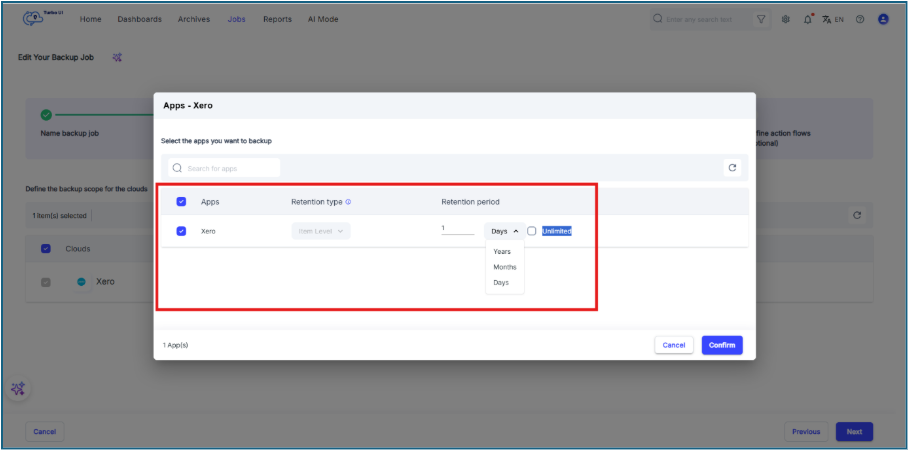
Step 8: In the Apps - Xero window, configure the retention period (By default Unlimited). The retention happens at an Item Level in Xero.
You can either:
- Enter a custom retention value and select the unit as Days, Months, or Years.
- Select Unlimited to retain Xero backup data without a fixed retention period.
Click Confirm and click Next to continue.
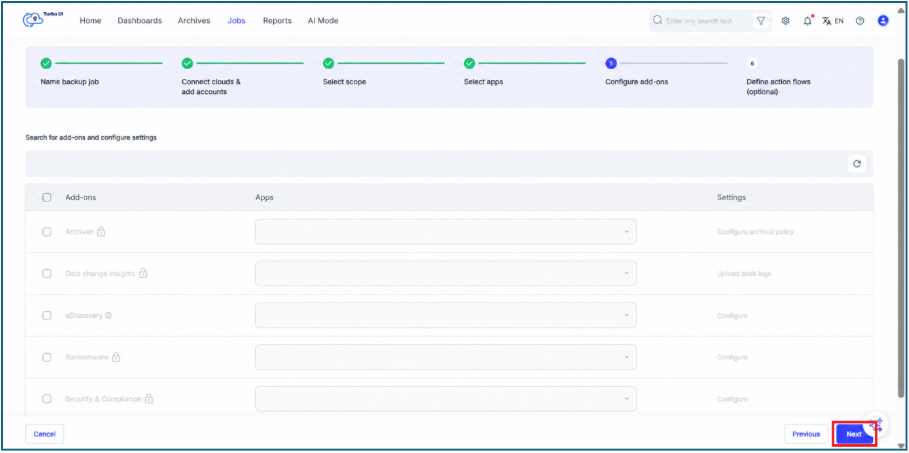
Step 9: In the Configure add-ons step, click on Next as currently there are no supported add-ons for Xero.
Step 10: Click Start backup in the Define action flows step to create the Xero backup job and start the backup.
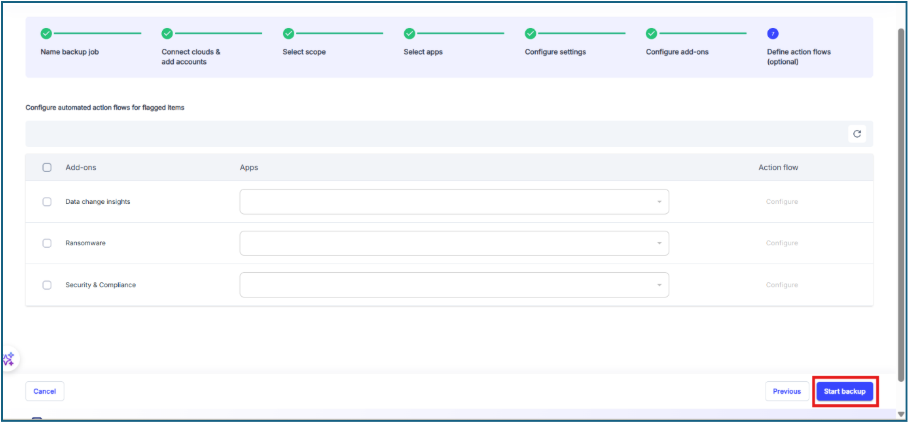
Action flows cannot be configured for Xero at this time because Xero does not currently support the required add-ons for action flow configuration.