- Help Center
- Manage Legacy backup
- SysCloud application
-
Get started with Turbo backup
-
Manage Legacy backup
-
Google Workspace
-
Google Classroom
-
Microsoft 365
-
Slack
-
QuickBooks Online
-
Xero
-
HubSpot
-
Salesforce
-
Box
-
Sky - AI Copilot
-
Add-ons
-
Partner Portal
-
Subscription and payments
-
Manage admin roles
-
Manage account
-
K-12 Security & Compliance
-
Google Drive Encryption
-
Uncategorized
-
Shopify
-
Cookie consent
How do I resolve SysCloud Application access errors?
To resolve application accessibility issues, you should be a super administrator. If you are a super administrator, follow these steps to grant the necessary permissions for accessing the SysCloud Application:
If you find application access errors it could be due to three reasons:
I. The application was not turned on for everyone
II. Data access permission has not been granted for the application
III. API access has not been granted
I. Turn on the application:
Step 1: Log in to the G Suite Admin Console.
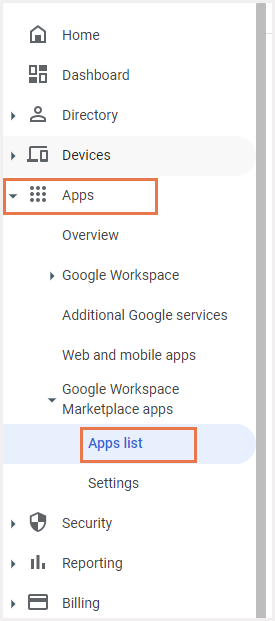
Step 2: Click the "Apps" drop-down and then click "Apps List" from the navigation menu on the left-hand side of the screen.

Step 3: Scroll down till you reach “SysCloud Security and Backup”, and click on it.
Check whether the application has been turned on for everyone, if not, then-
Step 4: Click "View organizational units and groups" under "User Access".
Step 5: Under the "App Distribution" panel, click the "ON for everyone" radio button and then click "SAVE".

II. Grant Data access permission: If data access has not been enabled, the application would not be able to back up data. Check whether data access has been granted for SysCloud in the admin console.
Click on the SysCloud Security and Backup app and click on “Grant access” under the data access section..png?width=688&name=Step%205%20(1).png)
III. Grant API access permission: If API access has not been granted, the backup application would not be able to function properly.
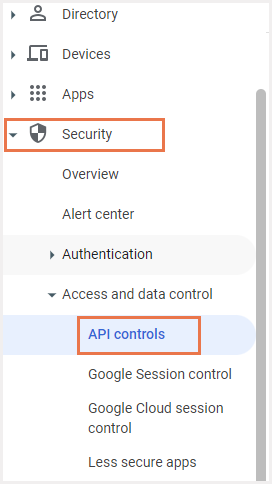
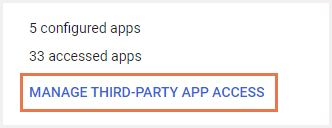
Step 1: Click "Security> API controls" from the navigation menu on the left-hand side of the screen.

Step 3: Click "SysCloud Web App".

Step 4: Navigate to the App Access panel. In the "Access Configuration" section, click "Trusted: Can access all Google services" from the drop-down menu. Click "SAVE".

-Aug-01-2022-12-37-27-80-PM.png?height=120&name=Untitled%20design%20(1)-Aug-01-2022-12-37-27-80-PM.png)