![Untitled design (1)-Aug-01-2022-12-37-27-80-PM.png]](https://help.syscloud.com/hs-fs/hubfs/Untitled%20design%20(1)-Aug-01-2022-12-37-27-80-PM.png?height=40&name=Untitled%20design%20(1)-Aug-01-2022-12-37-27-80-PM.png)
For customers who onboarded after 12/13/2024 | For customers who onboarded before 12/13/2024
You must be a Super administrator with access to the HubSpot account to perform this action. If you do not have the required access, request it from the HubSpot account holder.
Follow the steps below to create and start a backup job for HubSpot:
Step 1: Log in to the SysCloud backup application using your admin credentials.
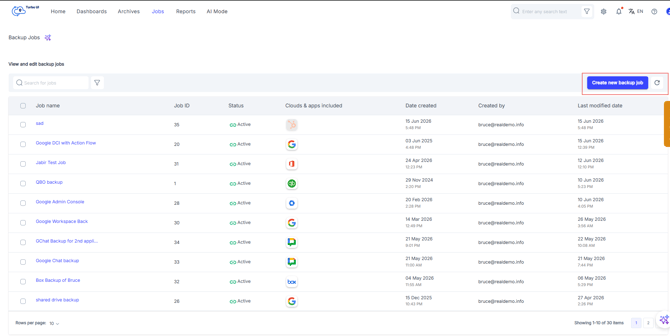
Step 2: Navigate to “Jobs” on the top menu and click on “Create a new backup job.”
Note: If this is your first backup job, click Create backup job from the final setup page and continue from Step 3.
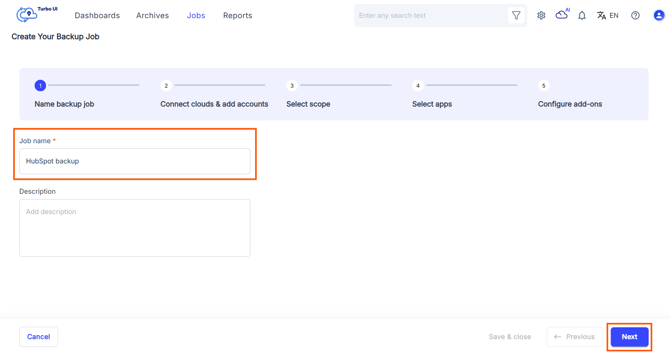
Step 3: Name the backup job and give a description (optional). Click on “Next.”
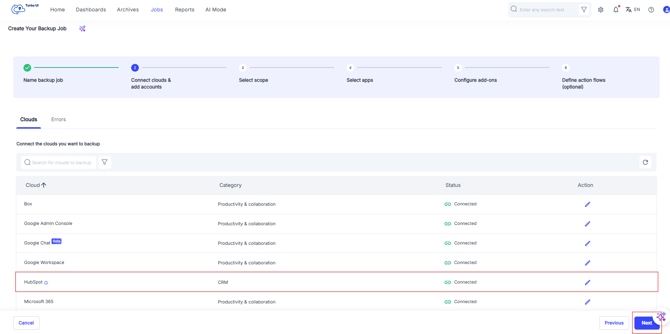
Step 4: To connect your HubSpot account to SysCloud, navigate to “HubSpot ” and click “Connect.”
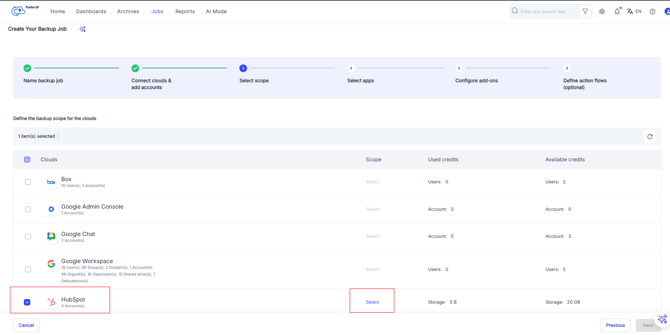
Step 5: To define the scope of the backup job, select “HubSpot” from the clouds list, and click on “Select” under Scope.
Step 6: Select the accounts you want to back up. Click on confirm.
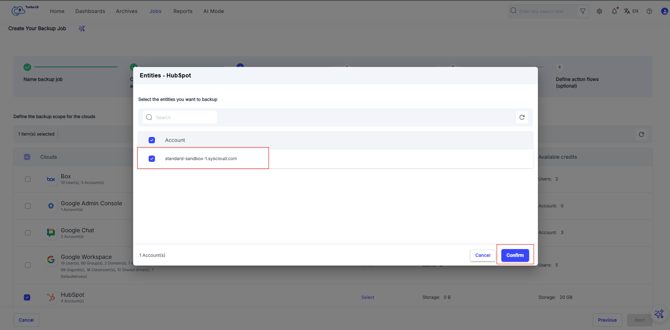
Step 7: Click Select apps and retention to choose the retention type and retention period for your backup job.
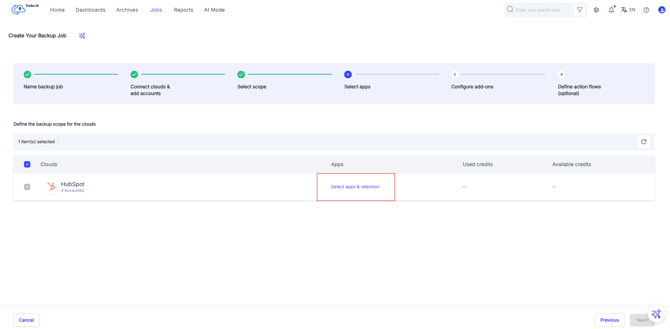
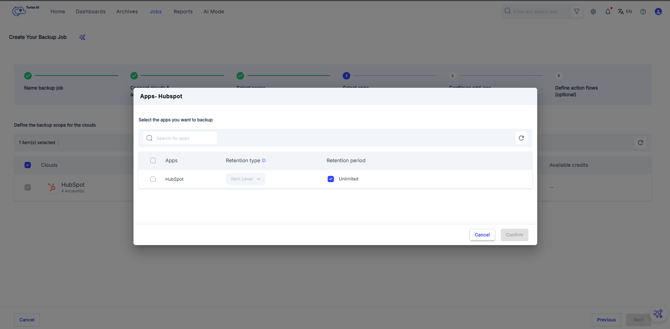
For HubSpot, only item-level retention is applicable. By default, HubSpot data is retained in the SysCloud backup archives for an unlimited period. To add a custom retention period, uncheck the Unlimited option and specify the number of days, months, or years for which you want the items to be retained. Click Confirm.
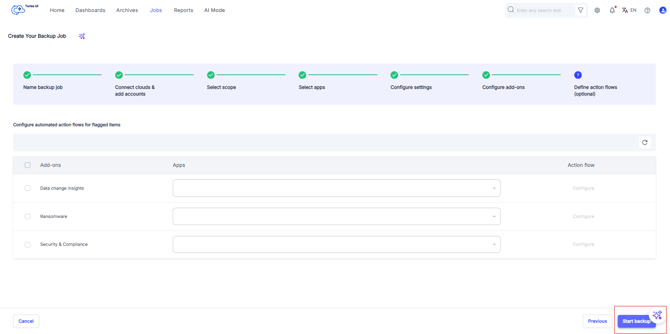
Step 8: Finally, click “Start backup” to back up your selected scope.
To set up HubSpot backup using SysCloud, follow the below steps:
Step 1: Login to your SysCloud backup account.
Step 2: Navigate to “Jobs” and click “Create new backup job”
Step 3: Enter a name and description for the new backup job. Click "Next."
Step 4: Click on the Action button next to HubSpot and select “Connect and Add Accounts”. 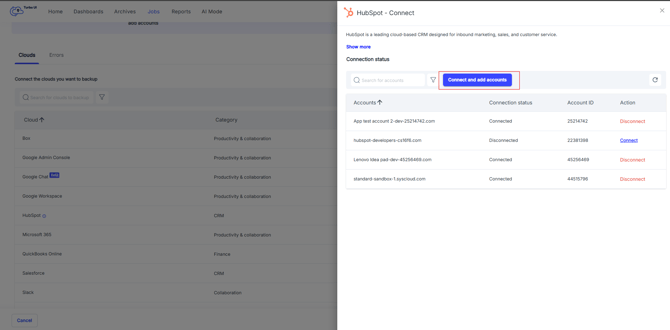
Step 5: Choose the account you want to back up and click “Choose account.” In the pop-up that appears, confirm the backup. Click "Next."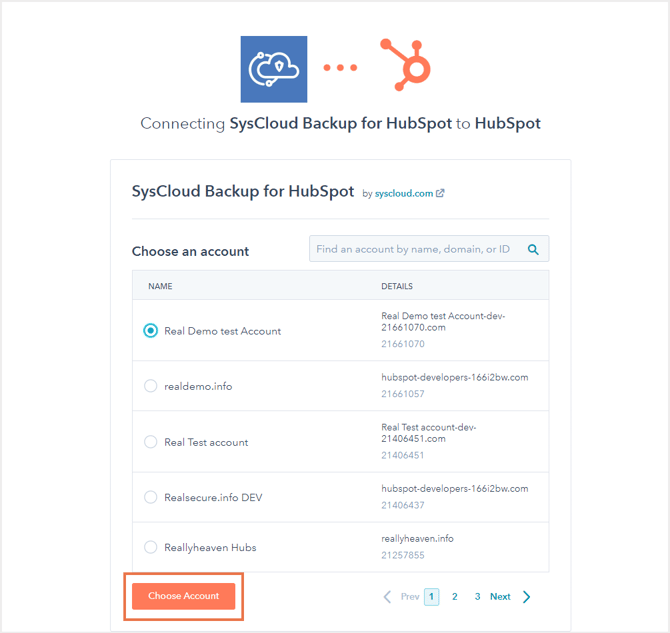
Step 6: Under Scope, click Select to choose the entities you want to back up. Select the required entities and click Confirm.
Step 7: Select the accounts you want to back up. Click on confirm.
Step 8: Click Select apps and retention to choose the retention type and retention period for your backup job.
For HubSpot, only item-level retention is applicable. By default, HubSpot data is retained in the SysCloud backup archives for an unlimited period. To add a custom retention period, uncheck the Unlimited option and specify the number of days, months, or years for which you want the items to be retained. Click Confirm.
Step 9: Finally, click “Start backup” to back up your selected scope.
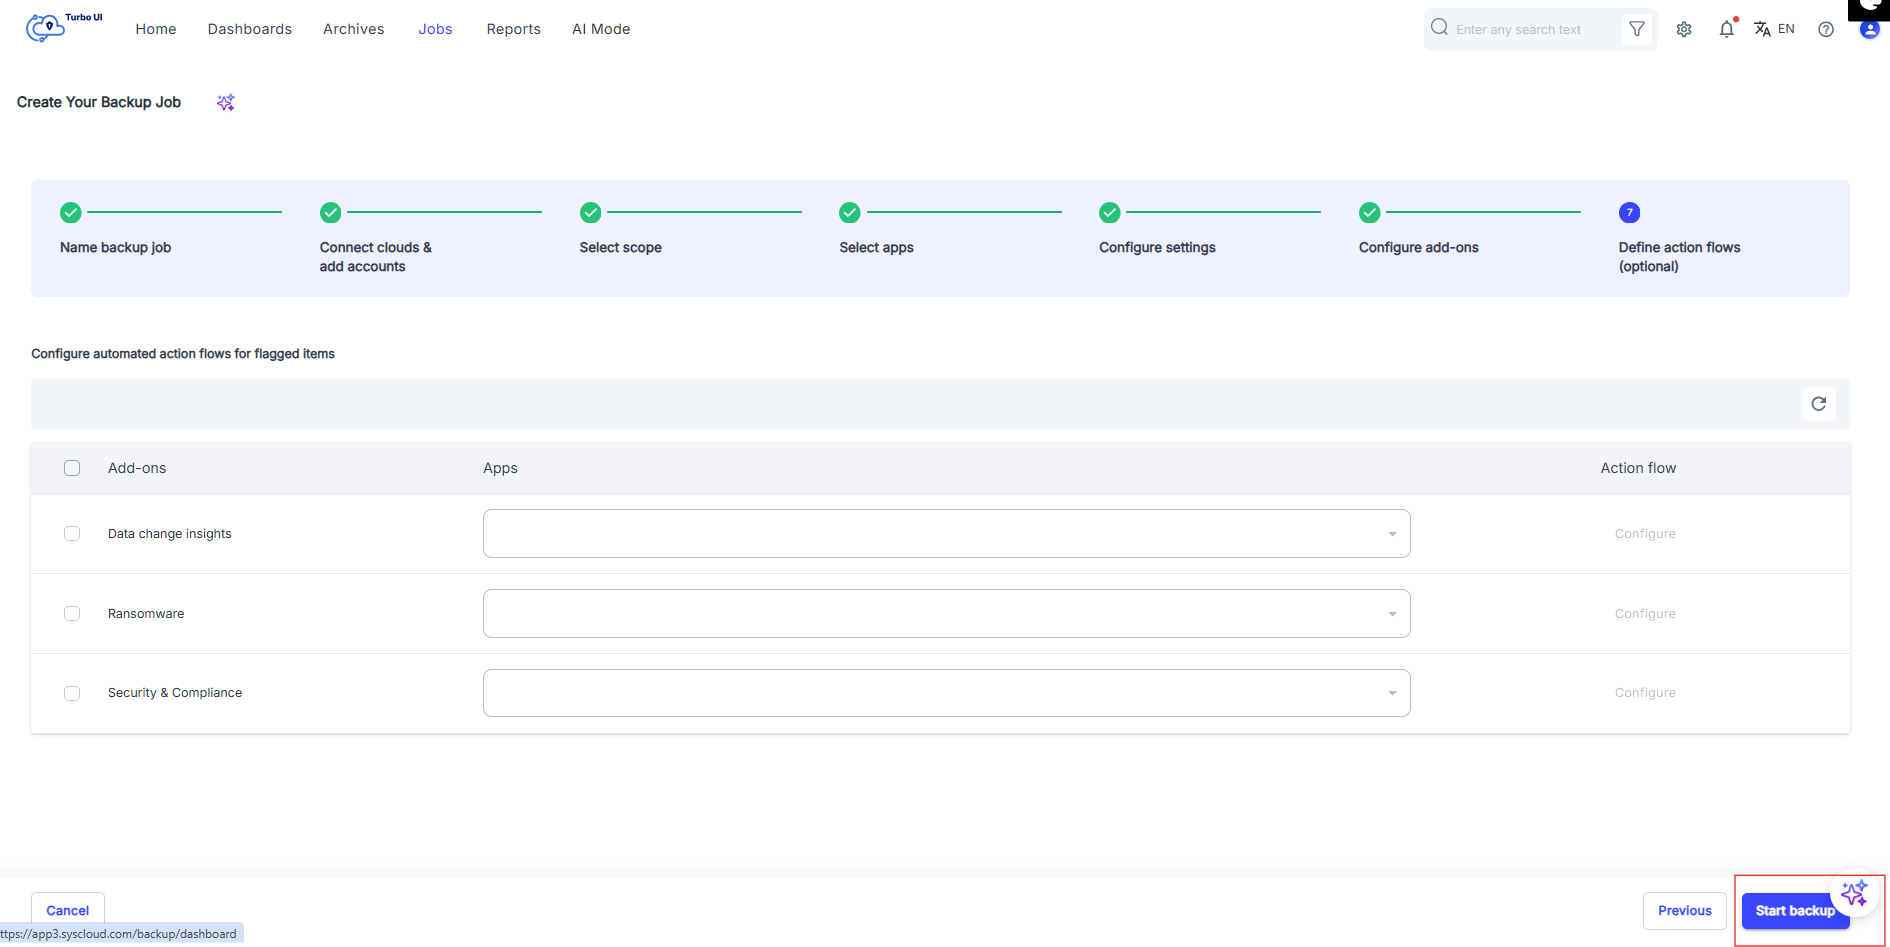
Once the backup is complete, you can view the backed up data in the SysCloud backup archives.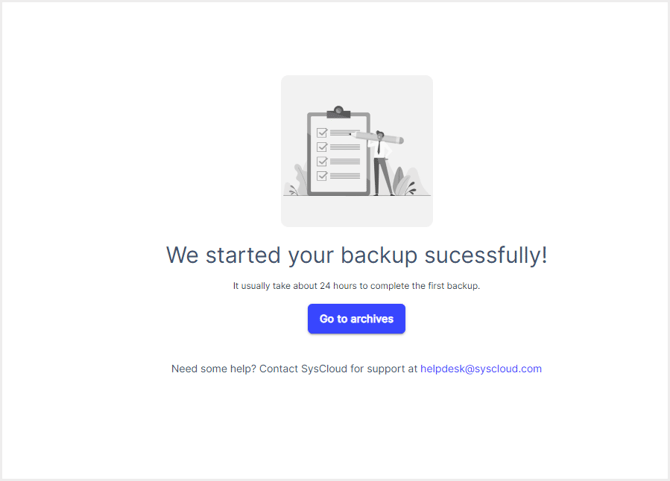
-
For HubSpot, only item-level retention is applicable. To learn more about the different retention types available in SysCloud, see What are the different retention types offered in the SysCloud backup product
- Need quick help checking your HubSpot backup job or backup progress? Navigate to AI Mode from the navigation bar, select Backup Jobs as the context, and ask your question to get instant answers about your backup job.