- Help Center
- Slack
- Restore Slack data
- 


        Get started with Turbo backup
- 


        Manage Legacy backup
- 


        Google Workspace
- 


        Google Classroom
- 


        Microsoft 365
- 


        Slack
- 


        QuickBooks Online
- 


        Xero
- 


        HubSpot
- 


        Salesforce
- 


        Box
- 


        Sky - AI Copilot
- 


        Add-ons
- 


        Partner Portal
- 


        Subscription and payments
- 


        Manage admin roles
- 


        Manage account
- 


        K-12 Security & Compliance
- 


        Google Drive Encryption
- 


        Uncategorized
- 


        Shopify
- 


        Cookie consent
How to restore files shared in Slack using the SysCloud backup application?
Note:
- All files stored inside Slack are available as links. Therefore, Syscloud's backup archives cannot show the file. When you restore a file, the link is automatically converted to a file by Slack after the restore.
- Due to Slack’s architecture, a thread cannot exist without its channel. If the channel has been deleted, SysCloud will create a channel with the same name and restore the thread.
Follow the steps below to restore files shared in Slack using SysCloud application:
Step 1: Login to SysCloud application using your admin credentials.
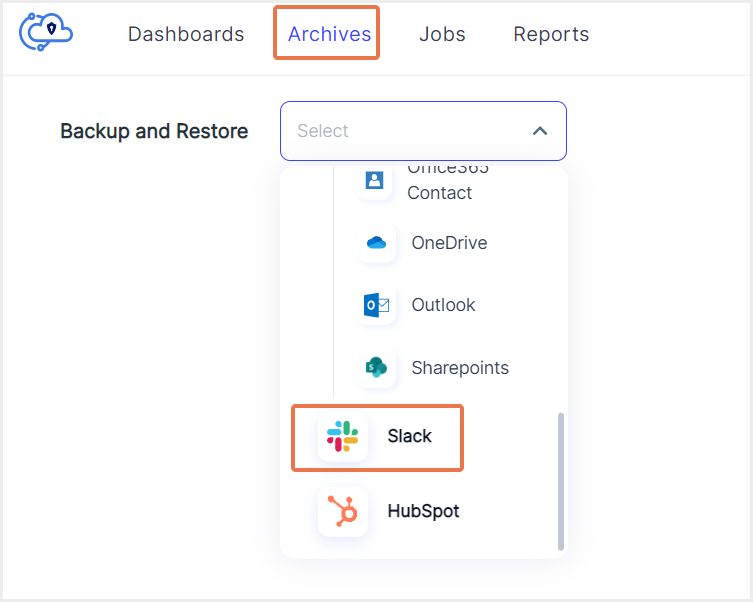
Step 2: Click on “Archives” and select Slack from the Backup and Restore drop down.

Step 3: Select your workspace and select the tab “Workspace Files.”

Note: Slack files are available in Slack conversations. SysCloud makes it easier for the users to search, view, and restore their files with the “Workspace Files” tab.
Step 4: Select the file(s) to be restored by clicking the checkbox next to it and click “Restore.”

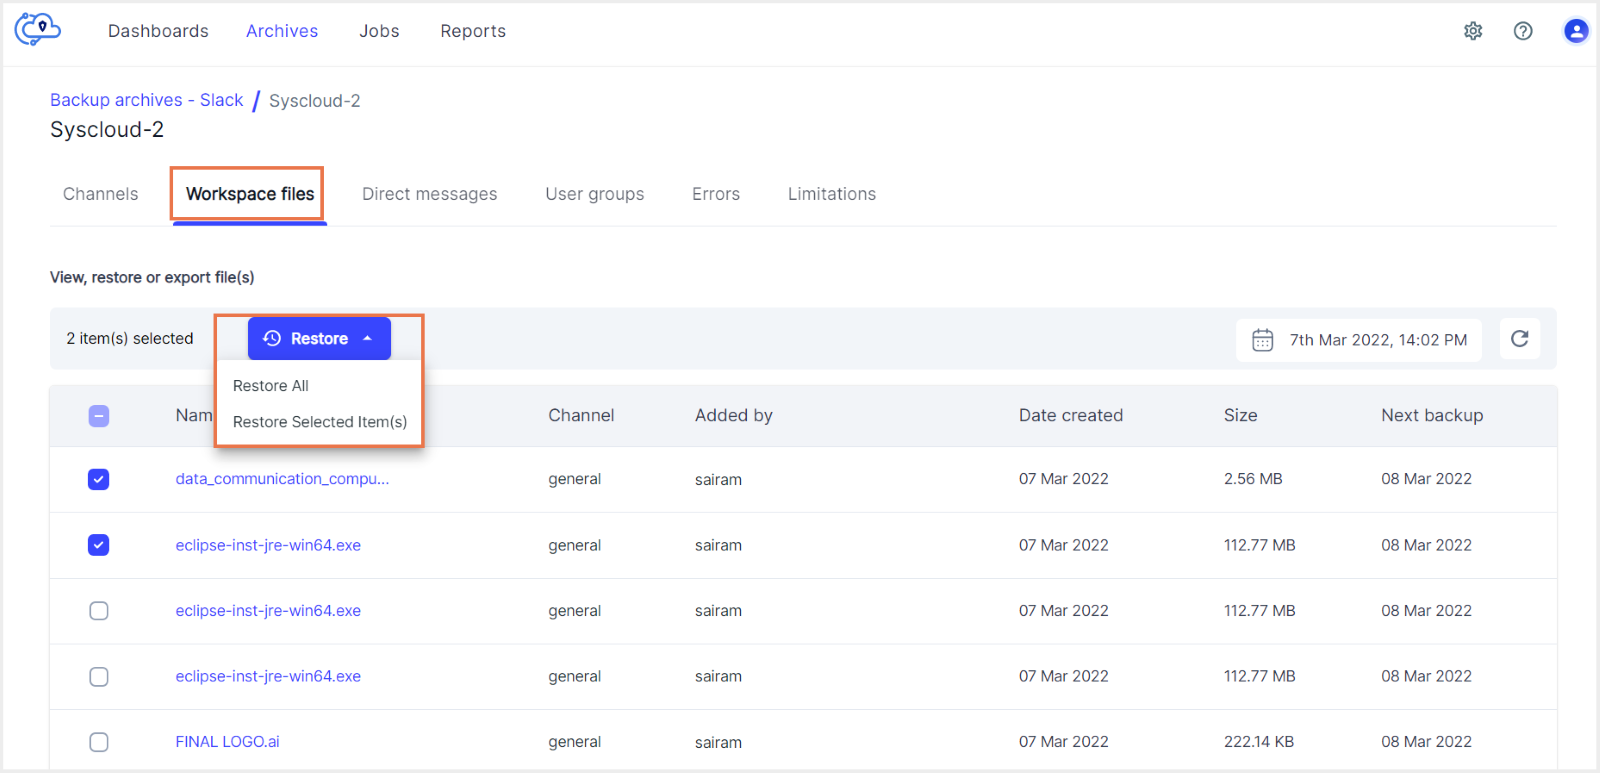
Note: To view a file and its contents, click on the file name.
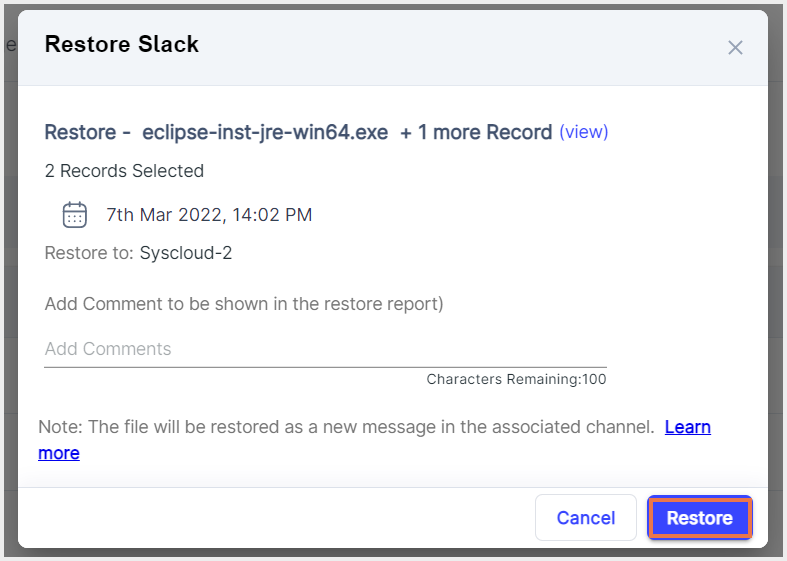
Step 5: Select snapshot date and time; add comments to be shown in the restore report (optional) and click on “Restore” to confirm the restore.

-Aug-01-2022-12-37-27-80-PM.png?height=120&name=Untitled%20design%20(1)-Aug-01-2022-12-37-27-80-PM.png)