![Untitled design (1)-Aug-01-2022-12-37-27-80-PM.png]](https://help.syscloud.com/hs-fs/hubfs/Untitled%20design%20(1)-Aug-01-2022-12-37-27-80-PM.png?height=40&name=Untitled%20design%20(1)-Aug-01-2022-12-37-27-80-PM.png)
SysCloud supports the backup of SharePoint sites that includes both Communication Sites as well as Team Sites. The backup includes data associated with Teams Sites that are created from Microsoft Teams.
To learn more about the different types of sites included in SysCloud backup, click here.
Turbo backup
Step 1: Login to SysCloud with admin credentials.
Step 2: Click Jobs from the top navigation menu.
Step 3:
- For a new job: You can create a new backup job by clicking on ‘create a new backup job’ and proceed to Step 4: Select apps in the flow.
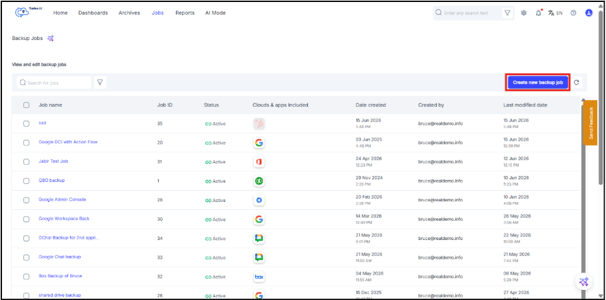
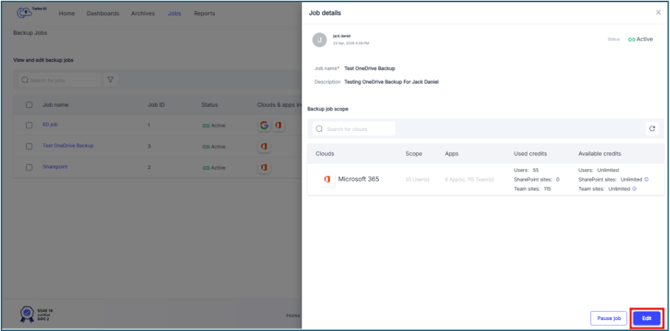
- For an existing backup Job: Open the existing backup job for which you want to change the retention period and in the Job details side tray that pops up, click Edit and proceed to proceed to proceed to Step 4: Select apps in the flow.
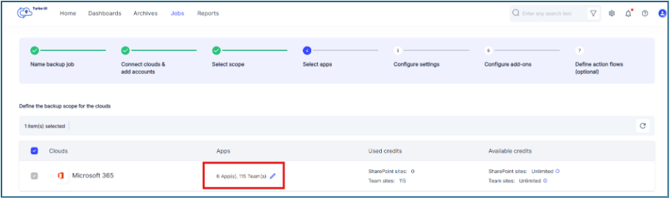
Step 4: Click Next until you reach the ‘Select Apps’ step where you can configure the app for the selected scope for Microsoft 365. Click on the pencil icon under Apps to edit the apps included in the backup job.
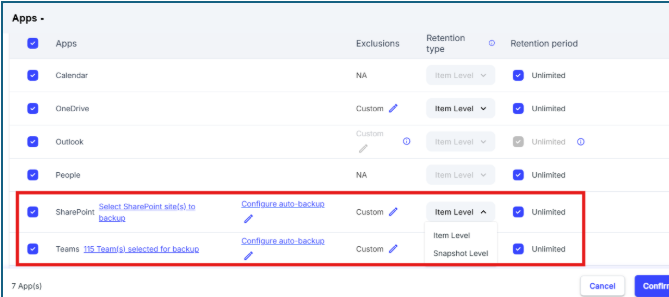
Step 5: From the list of apps, click on the link next to SharePoint/Teams called “Select SharePoint sites(s) to backup” or “Team(s) selected for backup” respectively.
-
By default, the retention period is ‘unlimited’. The same can be changed by unchecking it and providing manual values.
- By default, the retention type will be ‘item level’. The same can be changed to ‘snapshot level’ by selecting it from the drop down.
-
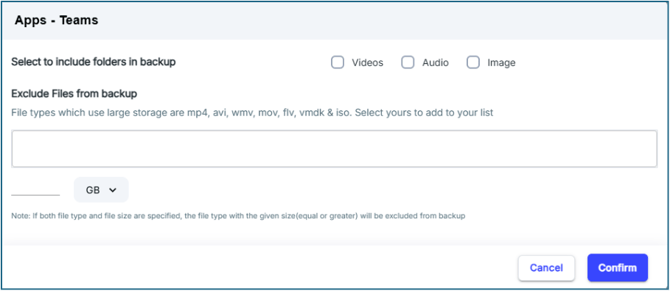
By clicking on the pen icon next to custom under exclusions, we can decide whether to include Video/Audio/Image on the backup (by default unchecked) and to exclude specific file types from backup based on just extension, by Size or both.
Step 6: In the side tray that opens, select the SharePoint site(s)/Teams that you need to include in the backup job, and click Confirm. 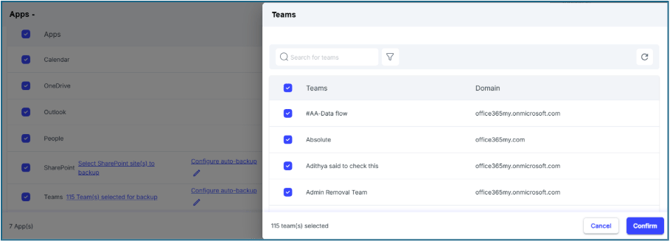
Step 7: You can also configure auto-backup for SharePoint sites by clicking Configure auto-backup. In the side tray that opens, select the checkboxes under Auto-Backup for the required domains, and click Confirm.
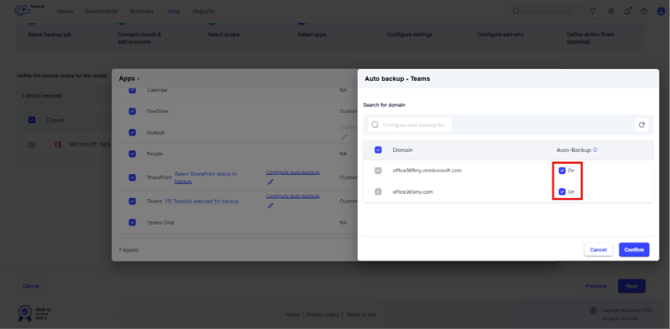
Step 8: Click Next through the remaining steps in the backup job creation or edit flow. In the Define action flows step, click Start Backup to save the changes and apply them to the backup job.