To restore shared drive data to its original location, follow the below steps:
- Step 1: Login to the SysCloud backup application using your admin credentials.
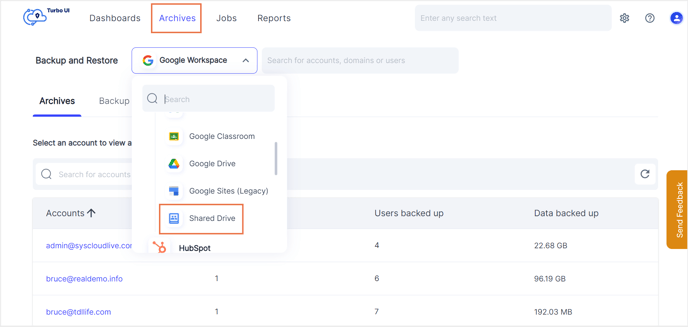
- Step 2: Navigate to the Archives tab and select Shared Drive from the Backup and Restore drop-down.
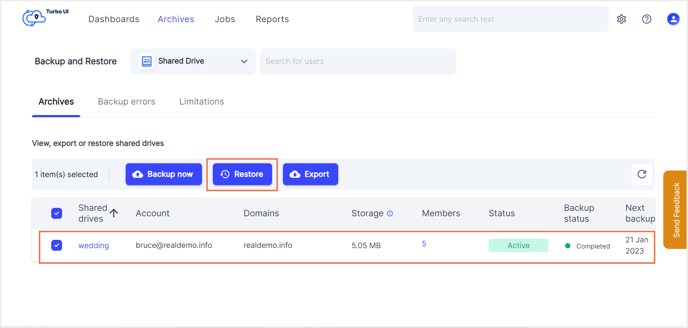
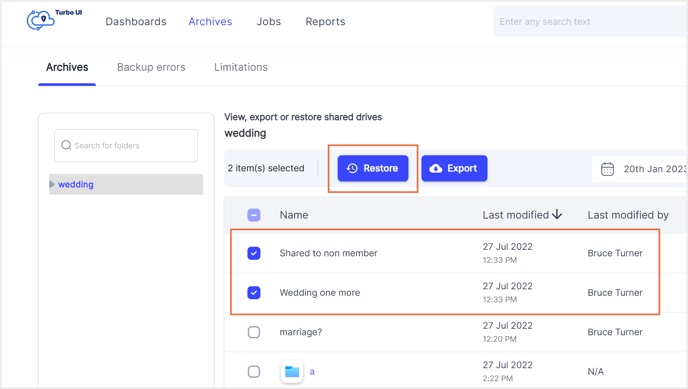
- Step 3: To restore an entire shared drive, select the checkbox next to the shared drive name and click Restore. To restore specific files within the shared drive, click on the required shared drive name to view its archives, select the files that need to be restored, and click Restore.
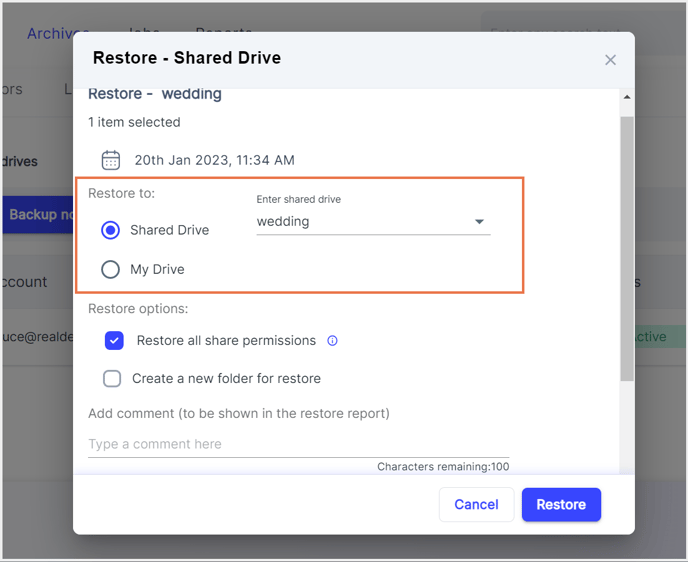
- Step 4: In the restore pop-up, select the backup snapshot that you need to restore. By default, the data will be restored to the original shared drive. Learn how to restore shared drive data to another shared drive or to My Drive.
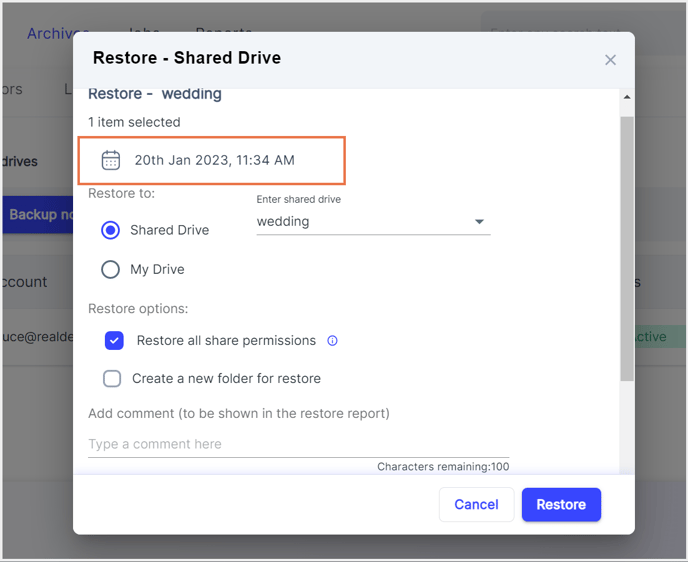
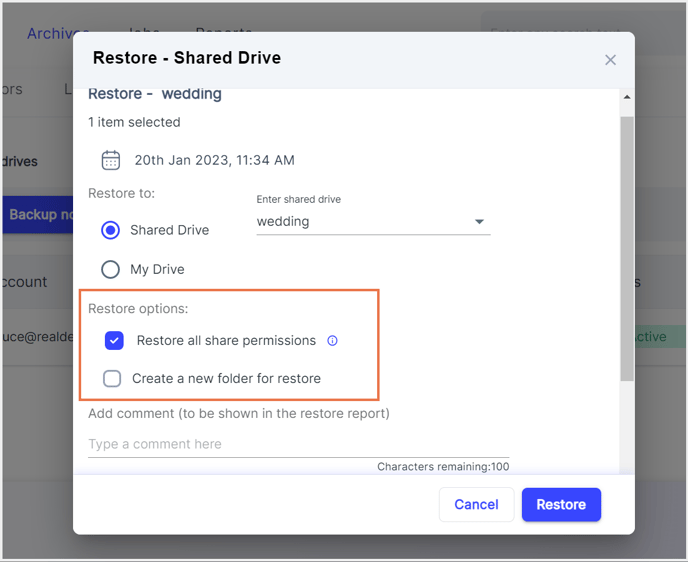
- Step 5: Select the restore options:
(a) To restore shared drive data with its existing permissions, select the option Restore all share permissions. If this option is enabled, the collaborators of the original file will have access to the restored file.
(b) To restore the files to a new folder, select the option Create a new folder for restore.
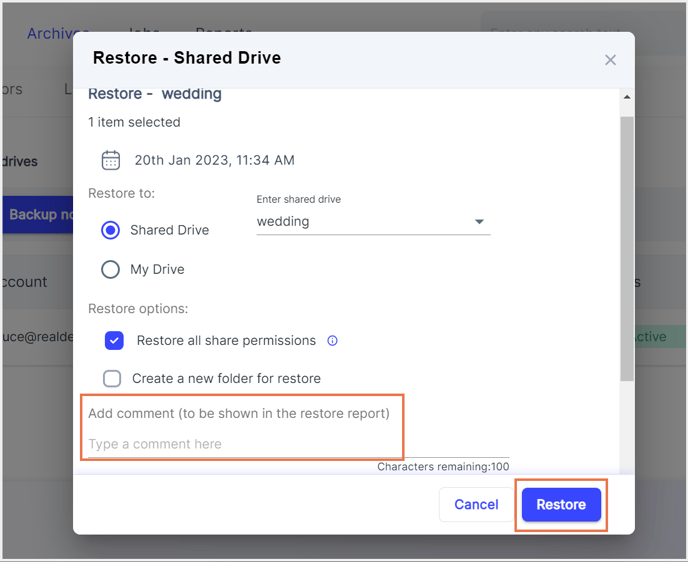
- Step 6: Add any comments to be shown in the restore report (optional) and click Restore.
To see the restore progress, navigate to Reports and select Restore reports under Google Workspace.